Create your own reaction GIF generator
Workflow Builder helps you automate everyday tasks and processes in Slack. Workflows can be as simple or as complex as you’d like, and can even be connected to other apps you use to get work done. In this workshop, you’ll learn how to build a custom automation with Workflow Builder to generate random GIFs with no coding required!
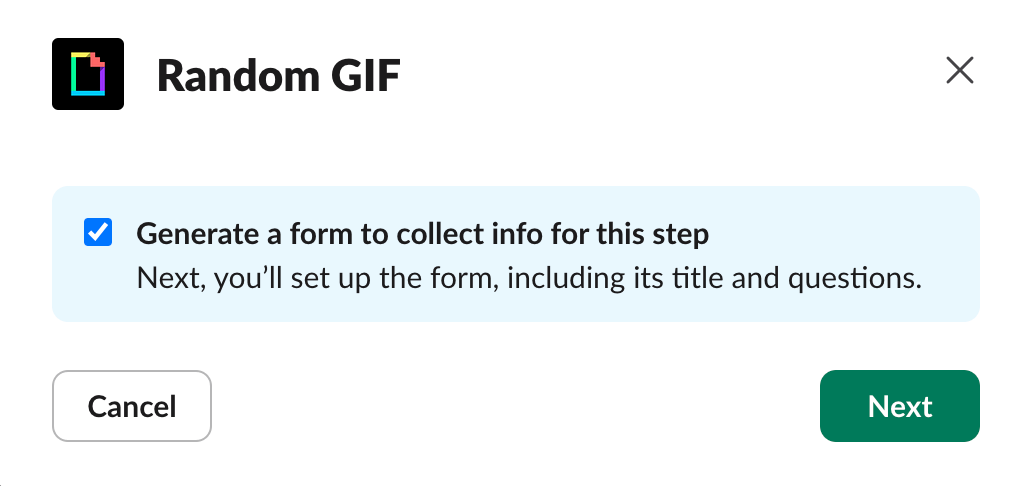
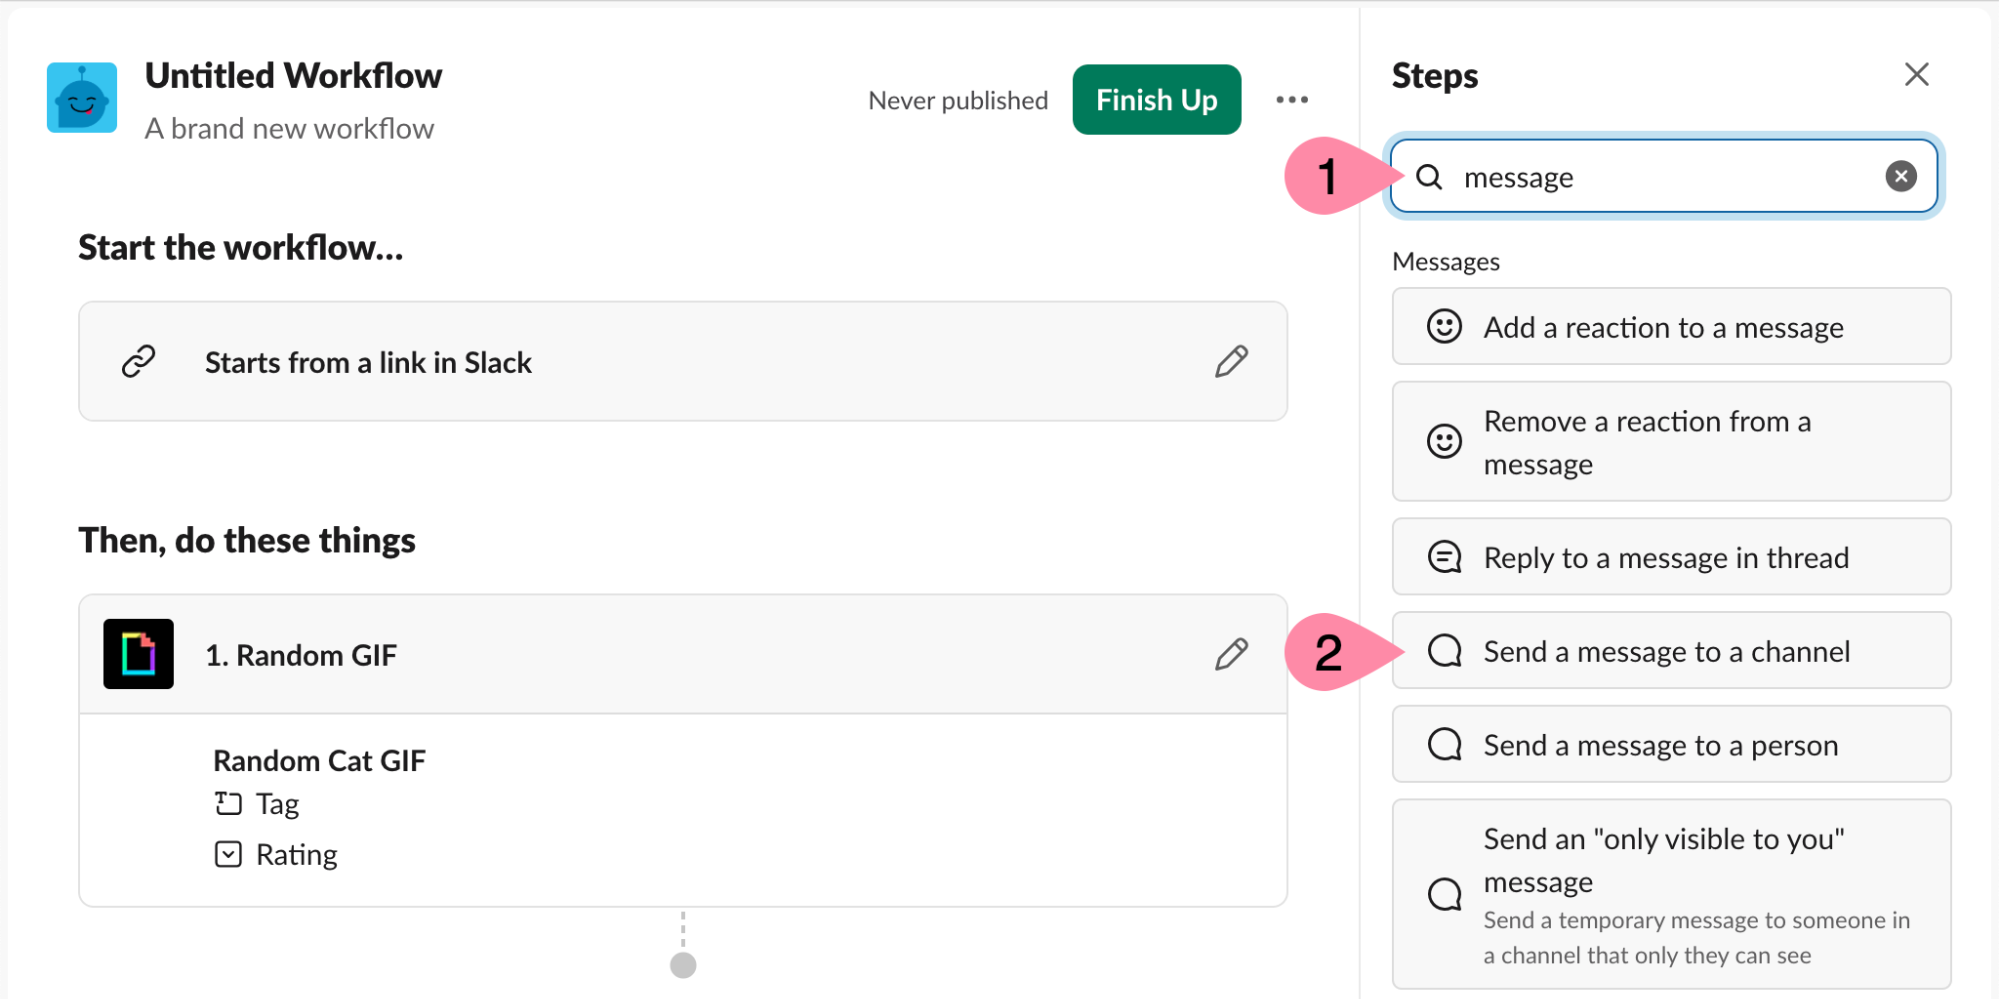
Now it’s time to add steps to your workflow. Slack has built-in steps and third-party integration steps (connectors) that can be found on the right sidebar. For this workflow, you will use the GIPHY connector. This step will prompt a person to fill out a form to search for a random GIF and save the form information to be used in the following steps.
- Search for or navigate to the Giphy step
- Click Random GIF
- Leave the box checked for “Generate a form…” and click Next
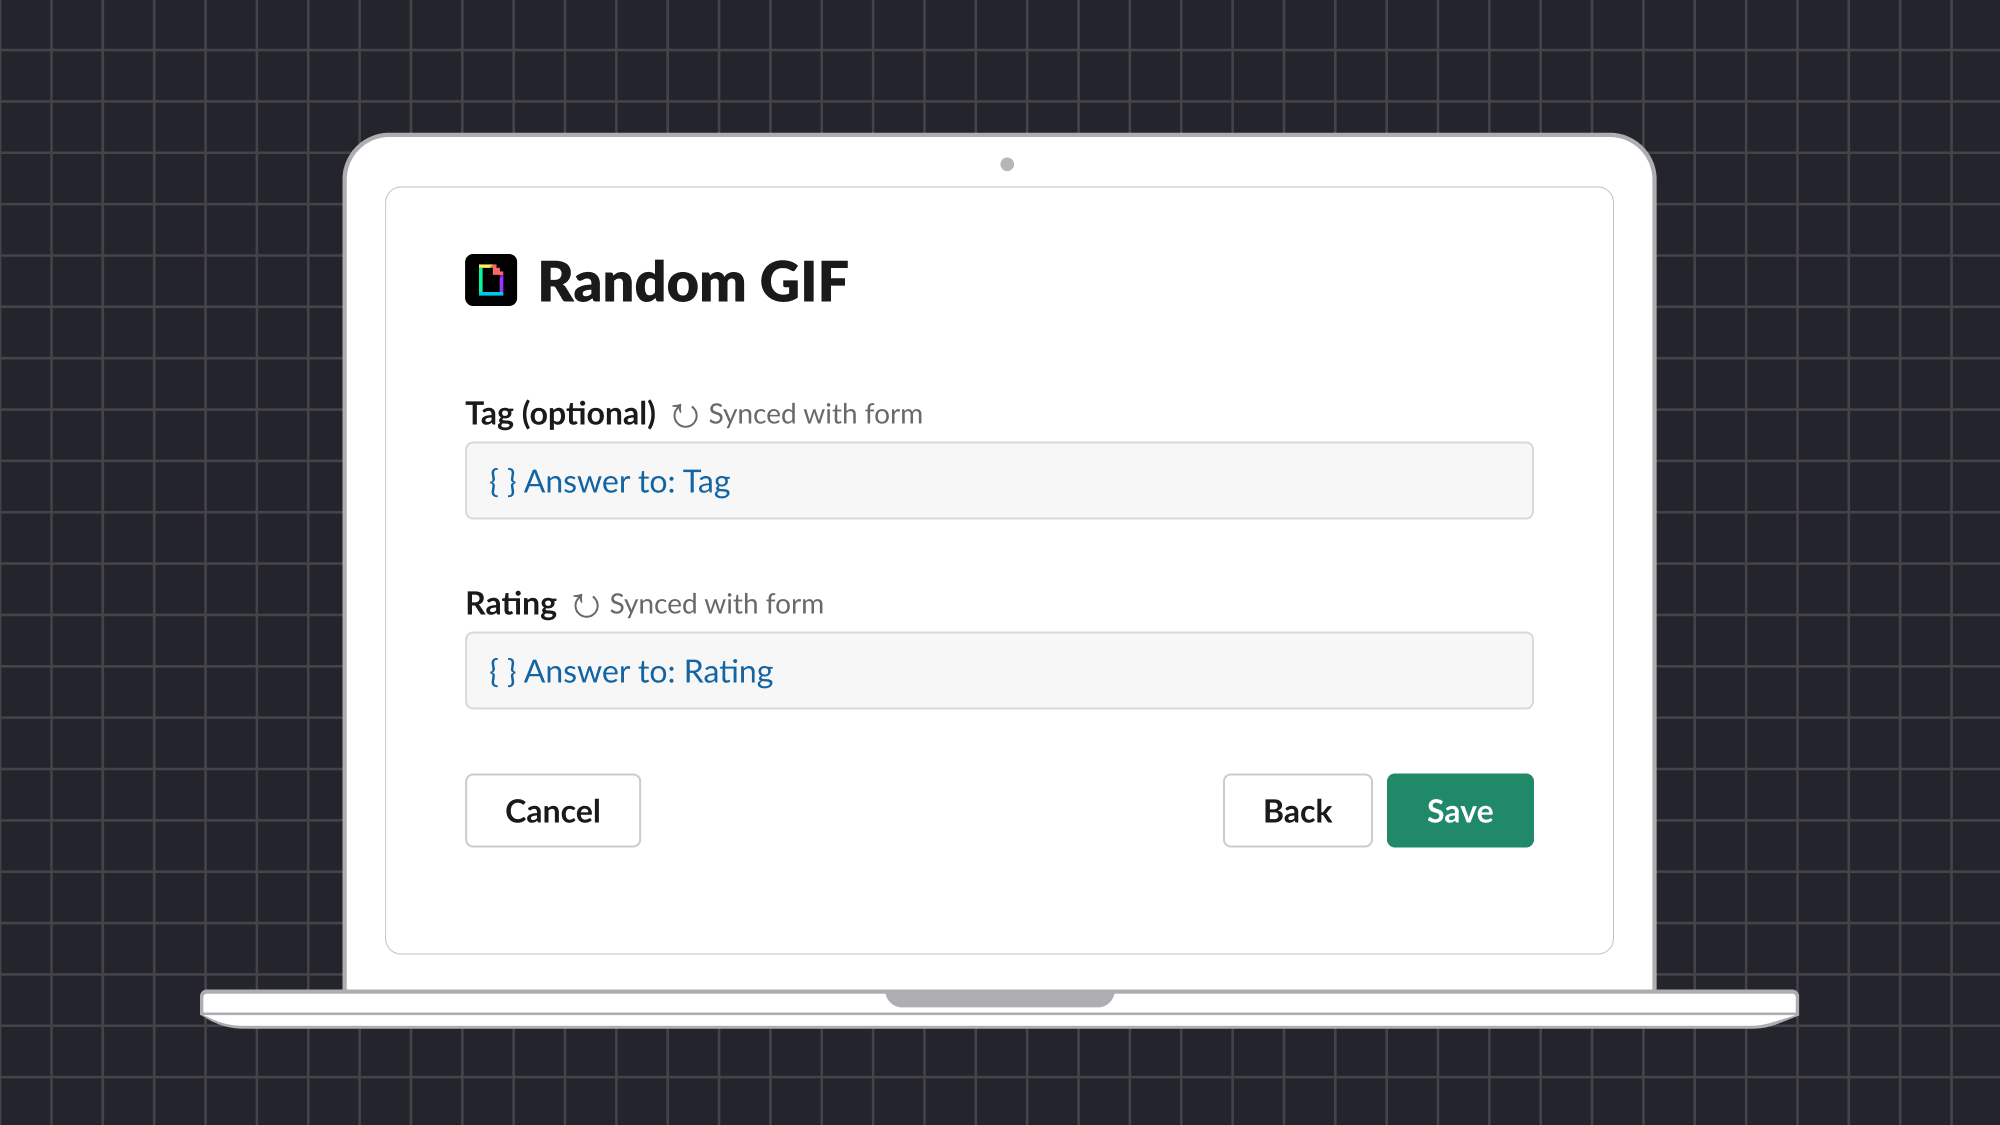
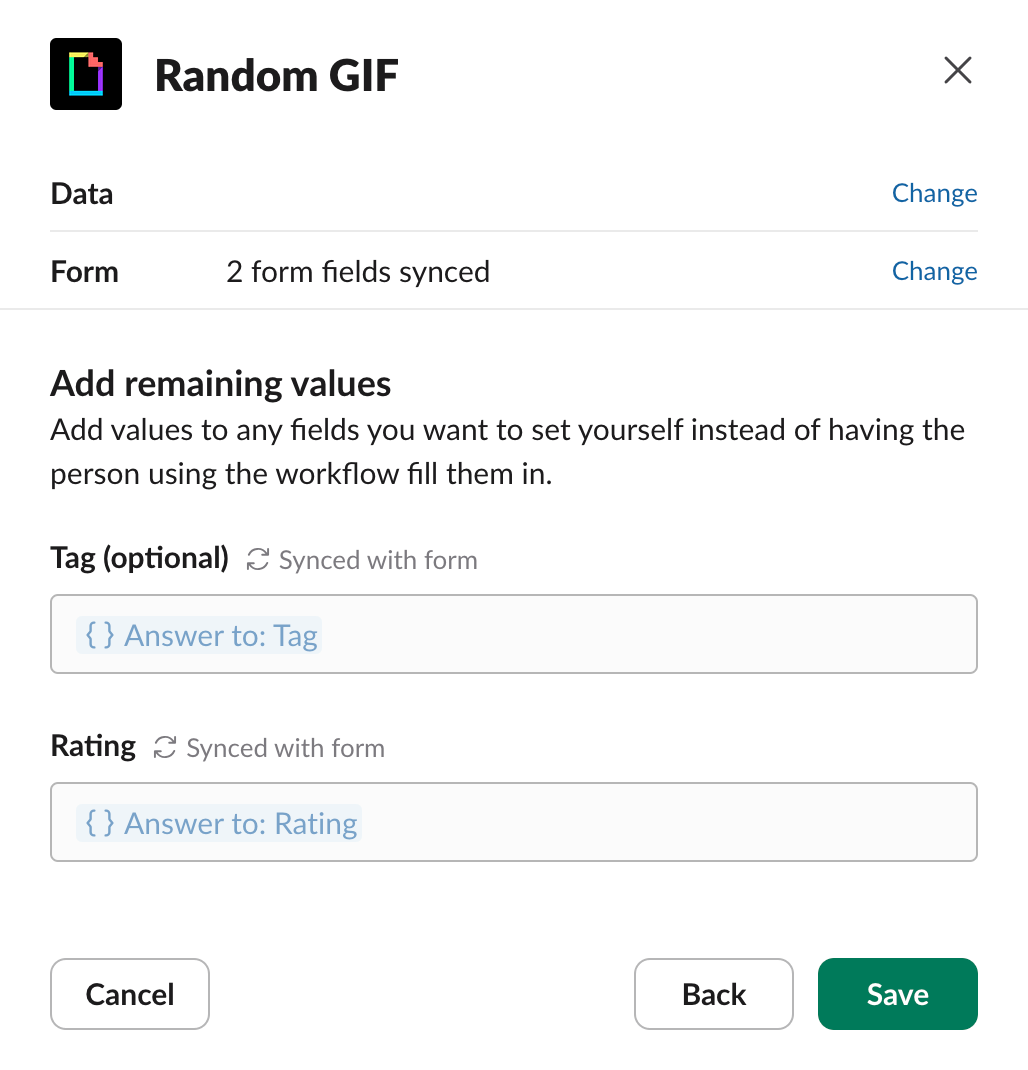
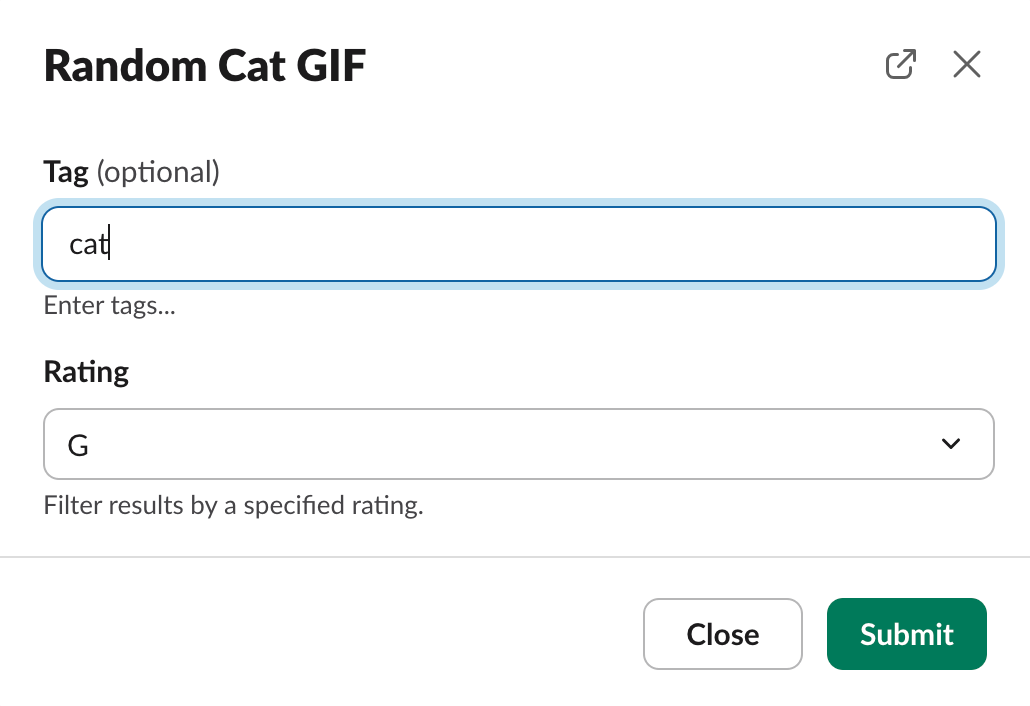
- Configure the Random GIF step (optional):
- Change the Form title, e.g. “Random Cat GIF”
- Click the Tag question, enter a Default value (e.g. “cat”), and click Done
- Click the Rating question, change the Default value, and click Done
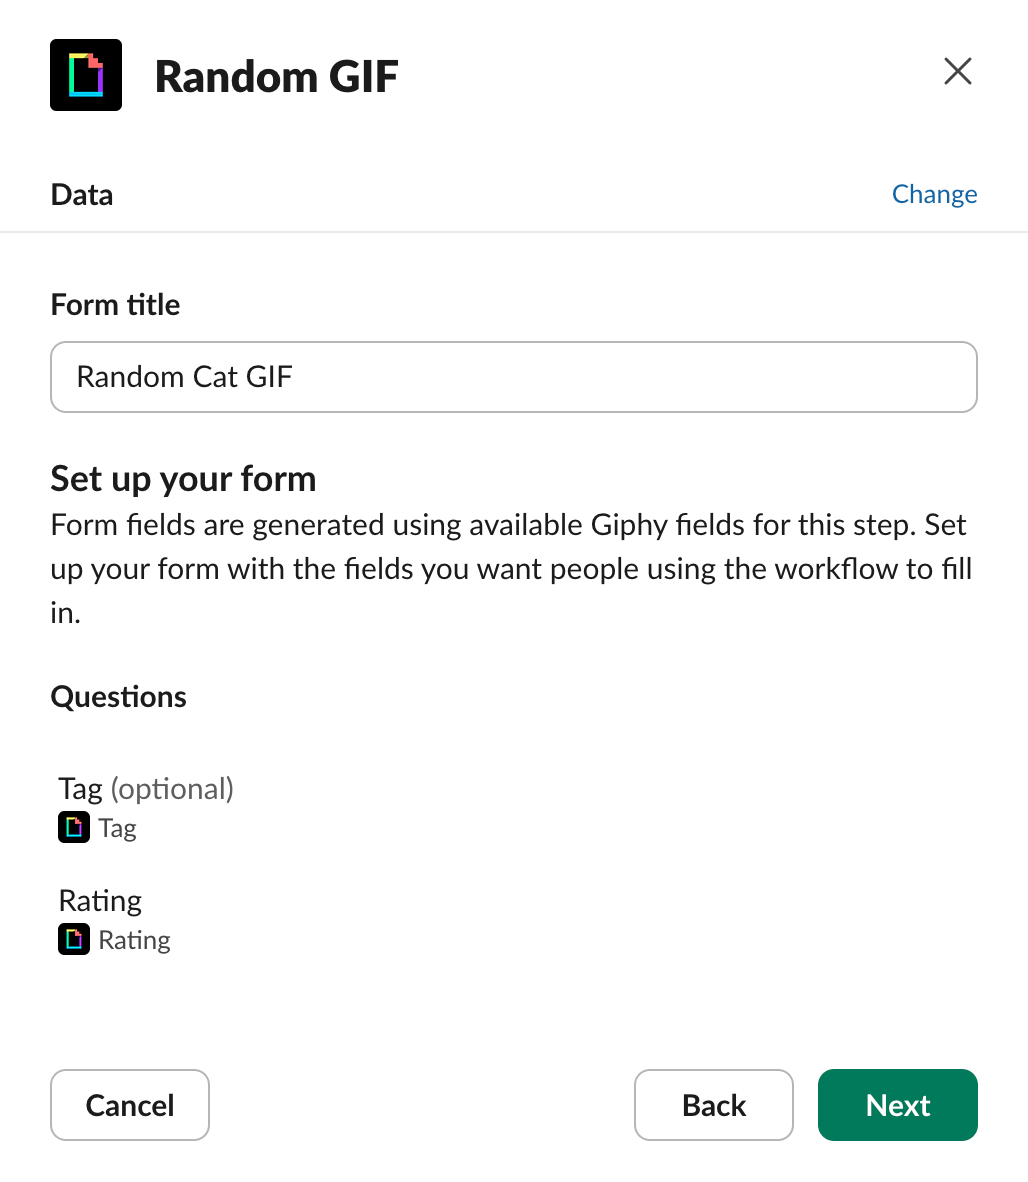
- Click Next
- Click Save
The next step in the workflow is to send the random GIF to the current channel.
- In the Search steps input field, type message
- Click Send a message to a channel
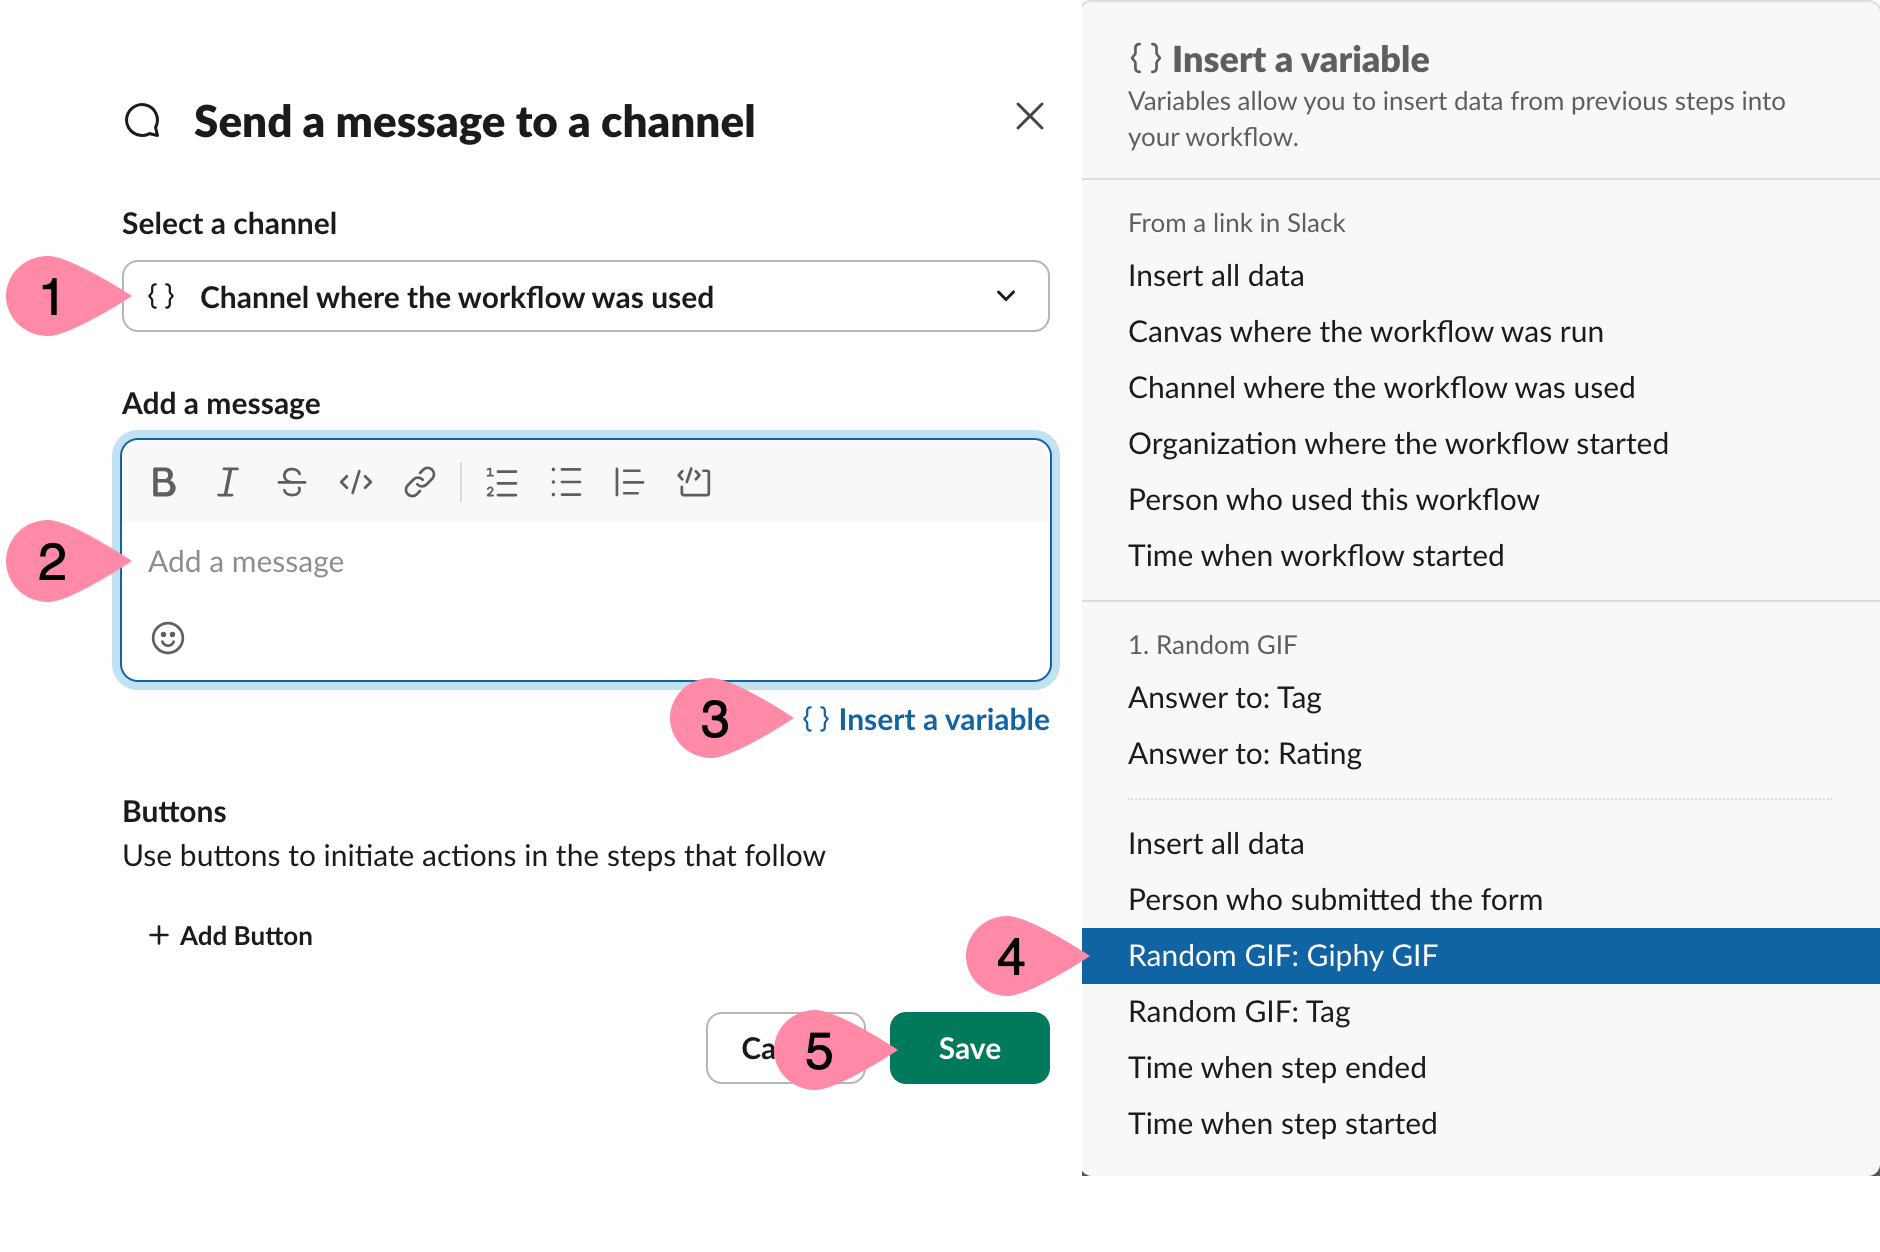
- Under Select a channel, make sure Channel where the workflow was used is selected
- Clear the default contents of the Add a message text box
- Click {} Insert a variable
- Click Random GIF: Giphy GIF
- Click Save
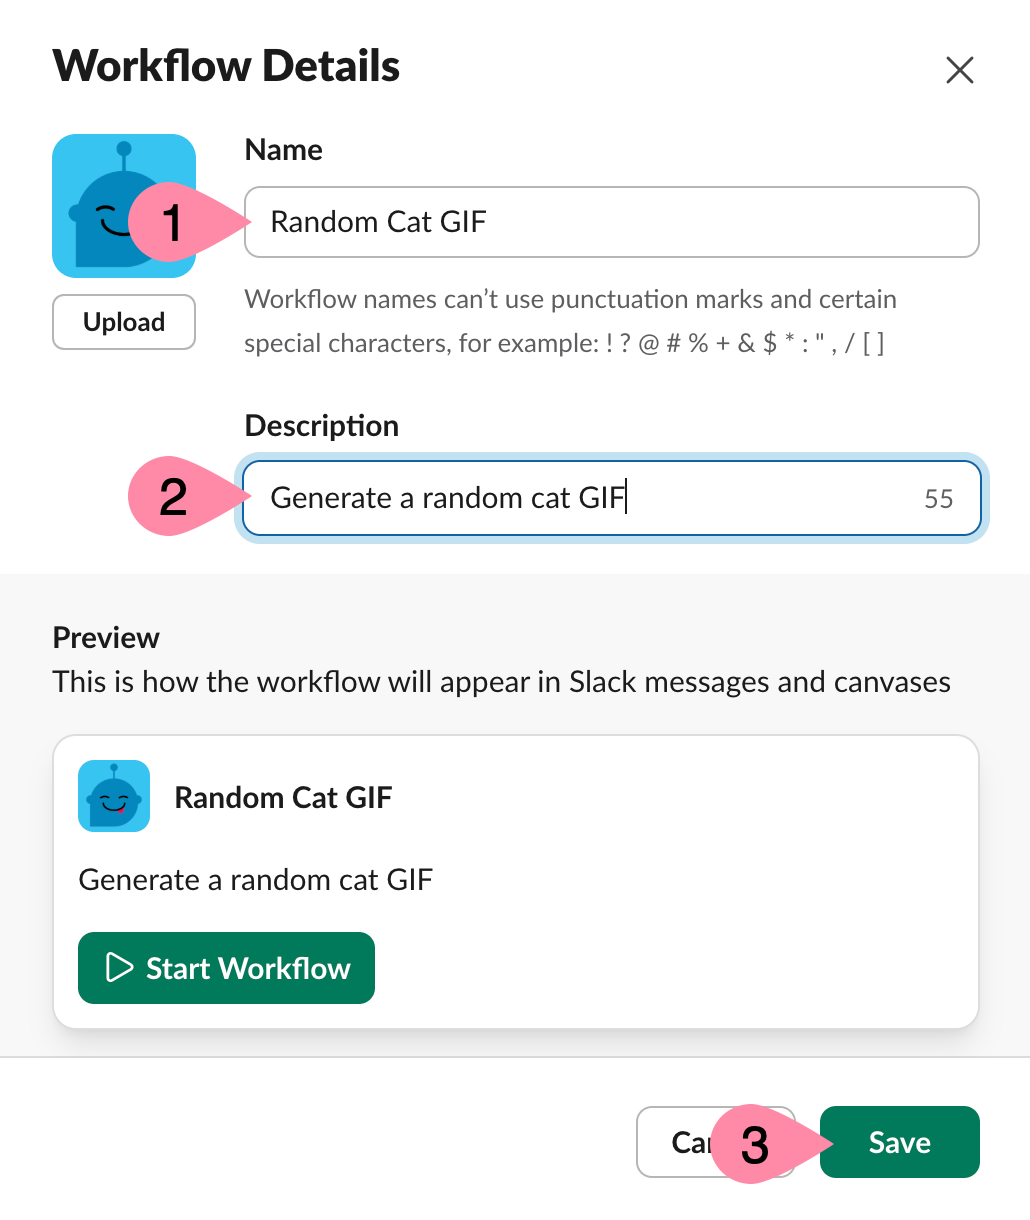
It’s important to name your workflow so people can understand what the workflow is and how it might be used.
- Click the Untitled Workflow at the top of the form

- Update the workflow Name, Description, and click Save
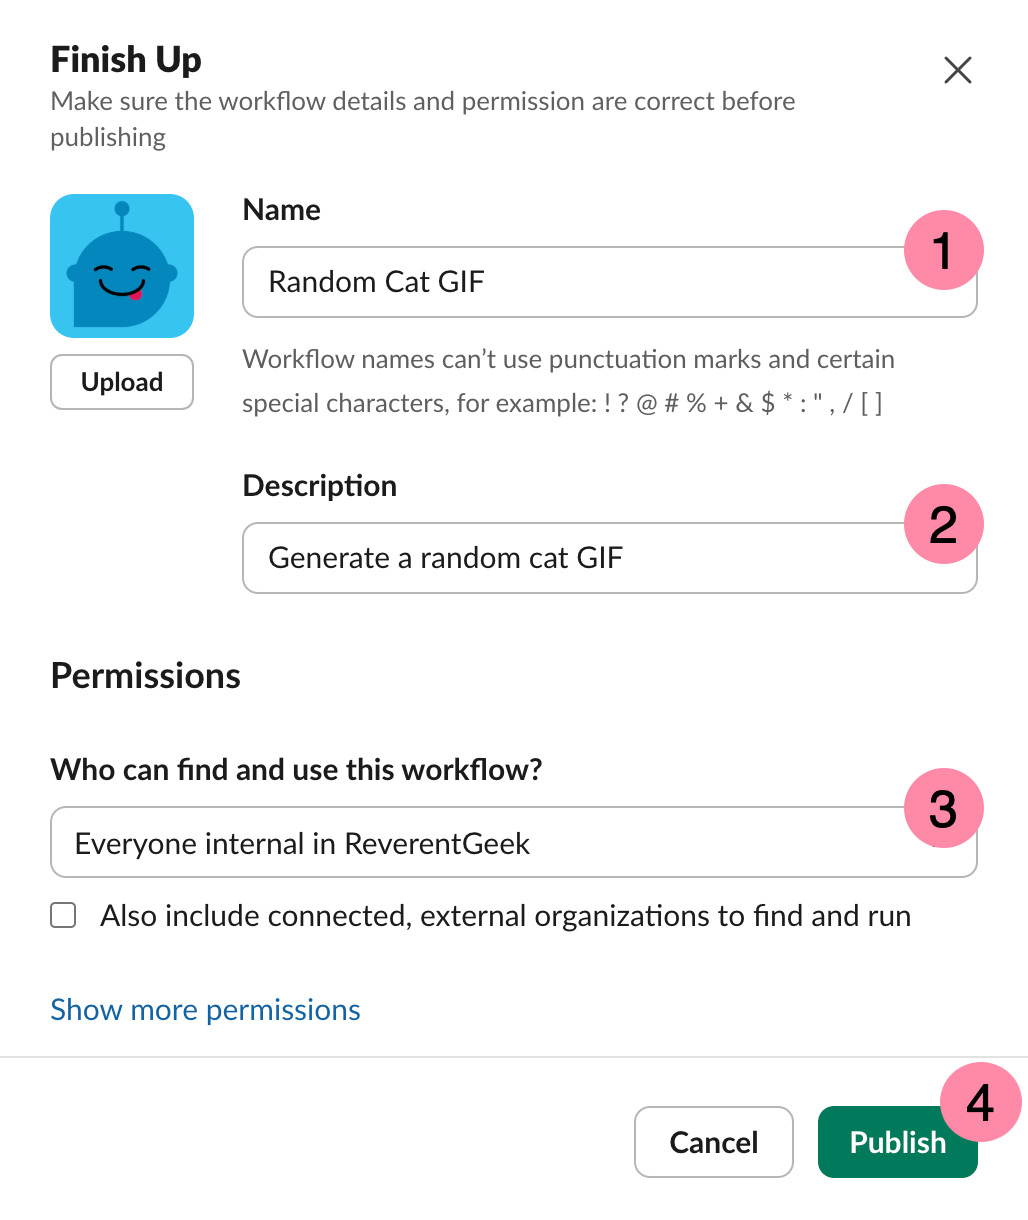
- Click Finish Up
- Verify the Name and Description are correct
- Verify the Permissions (optional)
- Click Publish
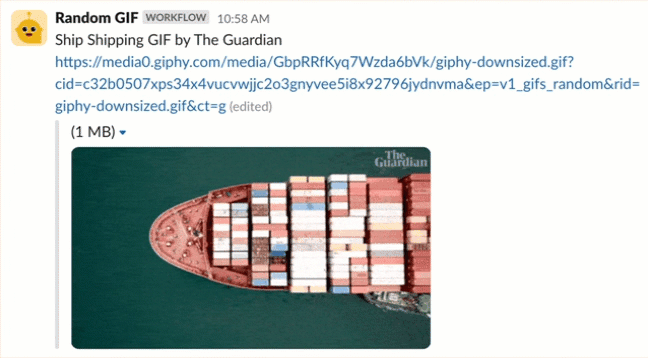
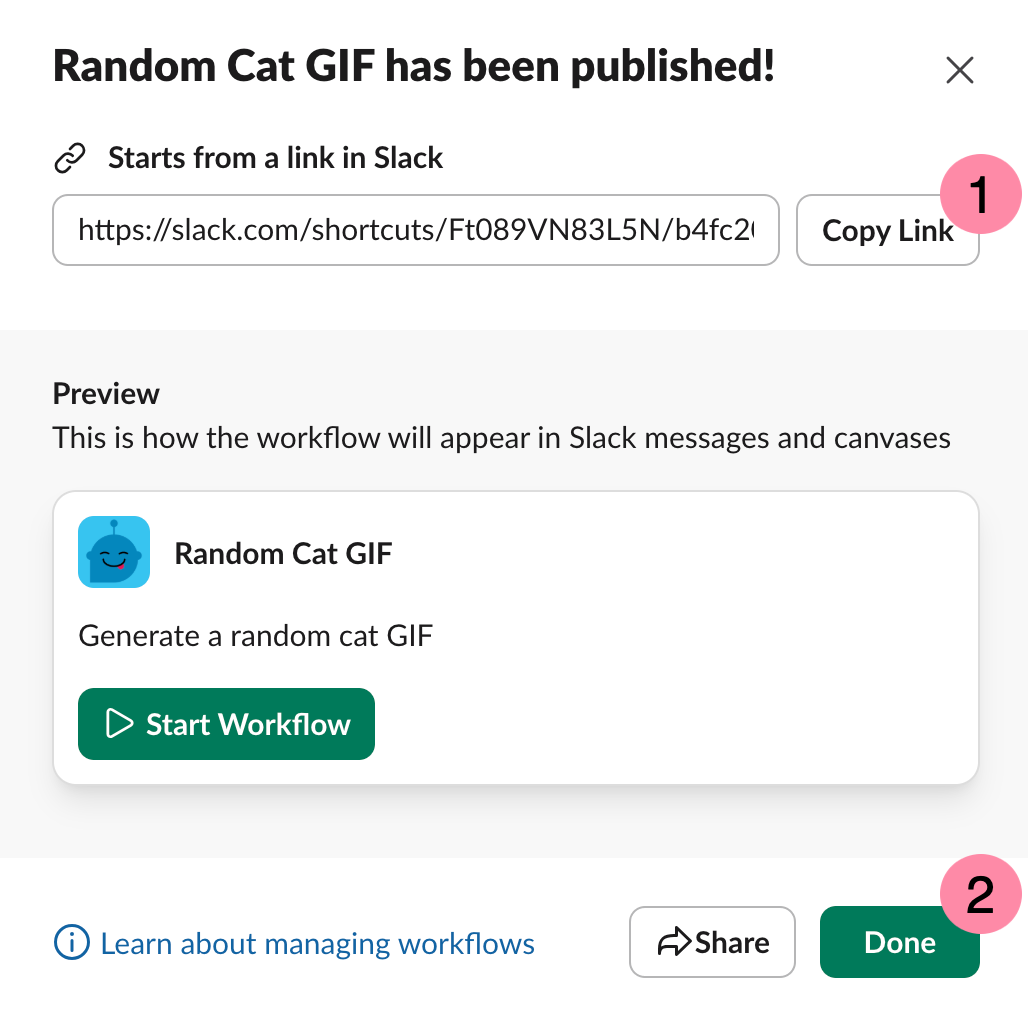
Your workflow is now published and ready to test!
- Click Copy Link
- Click Done
- Close the Workflow Builder
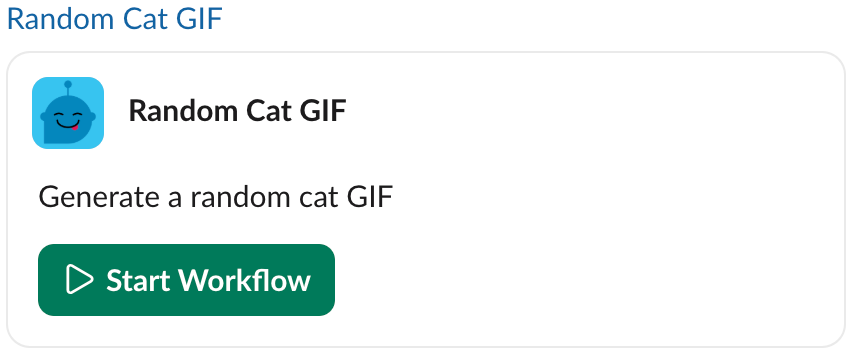
- Go to a channel in your Slack workspace, paste the link in the Message box, and press Enter
- Click Start Workflow
- Fill in the form and click Submit
- Enjoy your random GIF!

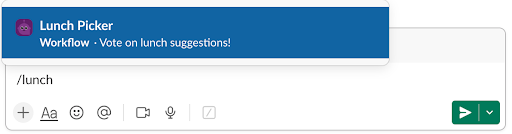
After the workflow is added to a channel, you can trigger the workflow using a slash command.
- In the Message box, start by typing a slash “/” followed by the first few letters of the name of your workflow
- Make sure the correct workflow is highlighted and press Enter