Ready to build something Slackbot can’t do out of the box? This short tutorial walks through connecting Slack to a Salesforce org and exposing your own custom business logic to Slackbot via the Model Context Protocol (MCP). To extend on Slackbot’s native ability to read Salesforce records, let’s build a Flow that encapsulates real decision-making logic, package it as an MCP tool, and let Slackbot call it directly in conversation.
Scenario: You work at an rental car dealership and use Salesforce to manage the vehicles in your fleet. Some of the data that you include are: the year and make of the vehicle, as well as maintenance status among other things. While Slackbot can read that data natively, only your own logic (built as a Flow) can compute something like a Vehicle Service Risk Score. During this challenge, you’ll build that logic, expose it as an MCP tool, and let Slackbot use it.
By the end, you’ll have Slackbot computing and explaining something Salesforce data alone can’t answer. Let’s get started!
You can register for the Slack Developer Program and receive a sandbox — this gives you a full environment with admin access, pre-loaded with sample data at no cost.
- Navigate and register
- Visit https://api.slack.com/developer-program and click “Join the Program”
- Complete the registration form with your e-mail. If you use a work e-mail, you may be blocked from creating sandboxes by your Slack admin. If that happens, using a personal e-mail will allow you to create a sandbox that is not tied to your organization.
- Activate your account
- Click “Activate Developer Account” from the confirmation email.
- Sign in and accept the Terms of Service
- Provision your sandbox
- On developer dashboard, go to “Sandboxes” → Provide Payment Method. You are required to provide a payment method so that we know that you are human. The card itself will not be charged.
- Add a new sandbox by clicking Provision Sandbox and following the prompts.
- Click your sandbox name and “Launch in Slack” to access your workspace.
- In Salesforce, enter Setup and in the Quick Find search bar on the left, type out “Users”.
- Find your user in the list and hit Edit and scroll down to Single Sign On Information.
- Change your Federation ID to the e-mail that you used to sign up for your Slack workspace and hit Save.
⚠️ Note that if you do not do this, the connection between Salesforce and Slack will not succeed and you’ll need to start over again.
- Change your Federation ID to the e-mail that you used to sign up for your Slack workspace and hit Save.
- In the Quick Find, type in “Manage Slack Connection”.
If you don’t have a Salesforce environment to test in, get a Salesforce Playground from Trailhead.
- Go to Trailhead and log in.
- Click your profile avatar in the top-right corner.
- Select Hands-On Orgs from the dropdown menu.
- Click Create Playground.
- Wait about 30 to 60 seconds for it to finish initializing, then click Launch.
You’ll need to wire up Slack to Salesforce. Having this connection, while it is a bit involved, will actually make things easier down the road. When connecting the MCP server that you create on Salesforce as part of Headless 360, you won’t have to deal with setting MCP urls or authentication as it will already have been dealt with in this step. Think of it is as mise en place, you’re setting everything in place so that you can get your cooking (coding) done easily 👨🍳.
- Start the connection from Slack
In Slack, click Connect Salesforce Org in the top right corner.
In Salesforce, grab your org’s My Domain URL from Setup → Company Settings → My Domain, paste it into the dialog in Slack, and leave the mapping field on Email, then click Request Connection. - Approve the request in Salesforce
In Salesforce: Setup → Slack → Manage Slack Connection. Set Salesforce Mapping Field to SAML Federation ID, agree to the terms, and click Approve. - Activate from Slack
Refresh Salesforce Organizations in Slack — it should show Ready to Activate. You’ll also get a DM in Slack. Click View details (or Finish Activation in the DM), then Activate. - Add your user explicitly
Just in case it doesn’t happen automatically, you should add your user explicitly so that your user gets signed in to Salesforce on Slack. Click on your Salesforce org on the Slack settings page and click on the Users → Add Individually → and find your user in the dropdown and Grant Access. - Double check that you’re signed in
Under Authentication status, if you aren’t Authenticated you can sign in by opening up Slack (not the settings page) and clicking on your user → Preferences → Salesforce and log in there.
- Understand the data model
The objects and relationships you’ll query:Object Relationship Key Fields Vehicle Parent record Name, LastServiceDate, ManufacturerWarrantyEndDate, CurrentOwnerId (Lookup → Account) Account Vehicle → Account via CurrentOwnerId (Lookup) Bridge between Vehicle and its Service Appointments ServiceAppointment Account → ServiceAppointment via AccountId (Lookup) DueDate, Status Relationship path: Vehicle → Account (CurrentOwnerId) → ServiceAppointment (AccountId). There is no direct relationship between Vehicle and ServiceAppointment
- Create the Flow
Setup → Quick Find “Flows” → New Flow → Autolaunched Flow (No Trigger) → Create. - Define variables and formulas
Create the following text variables (New Resource → Variable):- inputVehicleName — The vehicle name you want to check
- outputRiskLevel — The calculated risk level: Low, Medium, High, or Critical
- outputRiskBreakdown — A detailed explanation of why the vehicle received this risk level
- Also create these date helpers for your Decision conditions:Formulas (New Resource → Formula)
- fmlToday — Date —
DATEVALUE({!$Flow.CurrentDateTime}) - fmlDateMinus180 — Date —
DATEVALUE({!$Flow.CurrentDateTime}) - 180
- fmlToday — Date —
- Build the Flow logic
- Get Records — “Get Vehicle”
Object: Vehicle. Filter: Vehicle Name ={!inputVehicleName}. Store first record only, all fields.
- Decision — “Vehicle Found?”If “Vehicle Exists”: {!Get_Vehicle} Is Null =
False→ continue to next step.If “Not Found” (default): Set outputRiskLevel =Unknownand outputRiskBreakdown =Vehicle not found. Please verify the vehicle name.→ end the Flow.
- Get Records — “Get Overdue Appointments”In the next step, using the ServiceAppointment object add the following filters (all must match). Store the first record only:
- AccountId Equals
{!Get_Vehicle.CurrentOwnerId}AND - Status !=
CompletedAND - DueDate Less Than
{!$Flow.CurrentDateTime}.
- AccountId Equals
- Decision — “Determine Risk Level”
Create four outcomes using these same conditions — only the logic operator differs:
High — AND (2 of 2) | Medium — OR (1 of 2) | Low — Default
Add two conditions:
{!Get_Vehicle.LastServiceDate} <{!fmlDateMinus180}
{!Get_Vehicle.ManufacturerWarrantyEndDate} <{!fmlToday} Assignments — one per outcome above- High Risk: outputRiskLevel = “High” | outputRiskBreakdown = “All risk factors triggered — Maintenance is overdue, warranty has expired, and service appointments are past due. Immediate action required.”
- Medium Risk: outputRiskLevel = “Medium” | outputRiskBreakdown = “Risk factors triggered. Proactive outreach recommended.”
- Low Risk: outputRiskLevel = “Low” | outputRiskBreakdown = “No risk factors triggered. Vehicle is in good standing.”
- Get Records — “Get Vehicle”
- Save, Activate, and Test
Save with label Vehicle Service Risk Score → Activate.
Click Debug to test.
Enter 2021 Electra Motors Megavolt GT — expect Risk Level = “High”.
Try an invalid name — expect “Unknown”.
- Activate the standard fallback server
In Salesforce: Setup → Integrations → API Catalog → MCP Servers → Salesforce Servers tab. Activate the standardsobject-allserver — this lets Slackbot fall back to generic reads/writes when your custom tool doesn’t cover the ask. You don’t normally need this when using Salesforce MCP servers within a connected Slack workspace since Slackbot has access to Salesforce data but this is good practice to do in general when using a different agent. - Create the custom MCP server shell
On the same page, click Add MCP Server → Create Salesforce MCP Server in the top right.
Label:Fleet Service Tools
Name:FleetServiceTools
Description:Surfaces vehicle risk from Salesforce — overdue maintenance, open recalls/service cases, and upcoming service due dates — to help teams flag and prioritize at-risk vehicles. - Add your Flow as a tool to this MCP server
On the new page, click Add Server Assets → Add Tools. Within the popup where it says “Apex actions”, click the little dropdown and choose Tools and search for your flow:Vehicle Service Risk Score. After clicking on your tool, hit + Add Tool in the top right and Save. Finally, activate your server by clicking Activate.
In Slack: workspace name → Tools & settings → Manage Salesforce MCP → Add MCP Server. The Fleet Service Tools MCP server should show up here. Hit Add and check that your Flow shows up in the tools that this MCP server has. Then hit Next → Add to all workspaces → Everyone → Connect.
- Ask what it can do
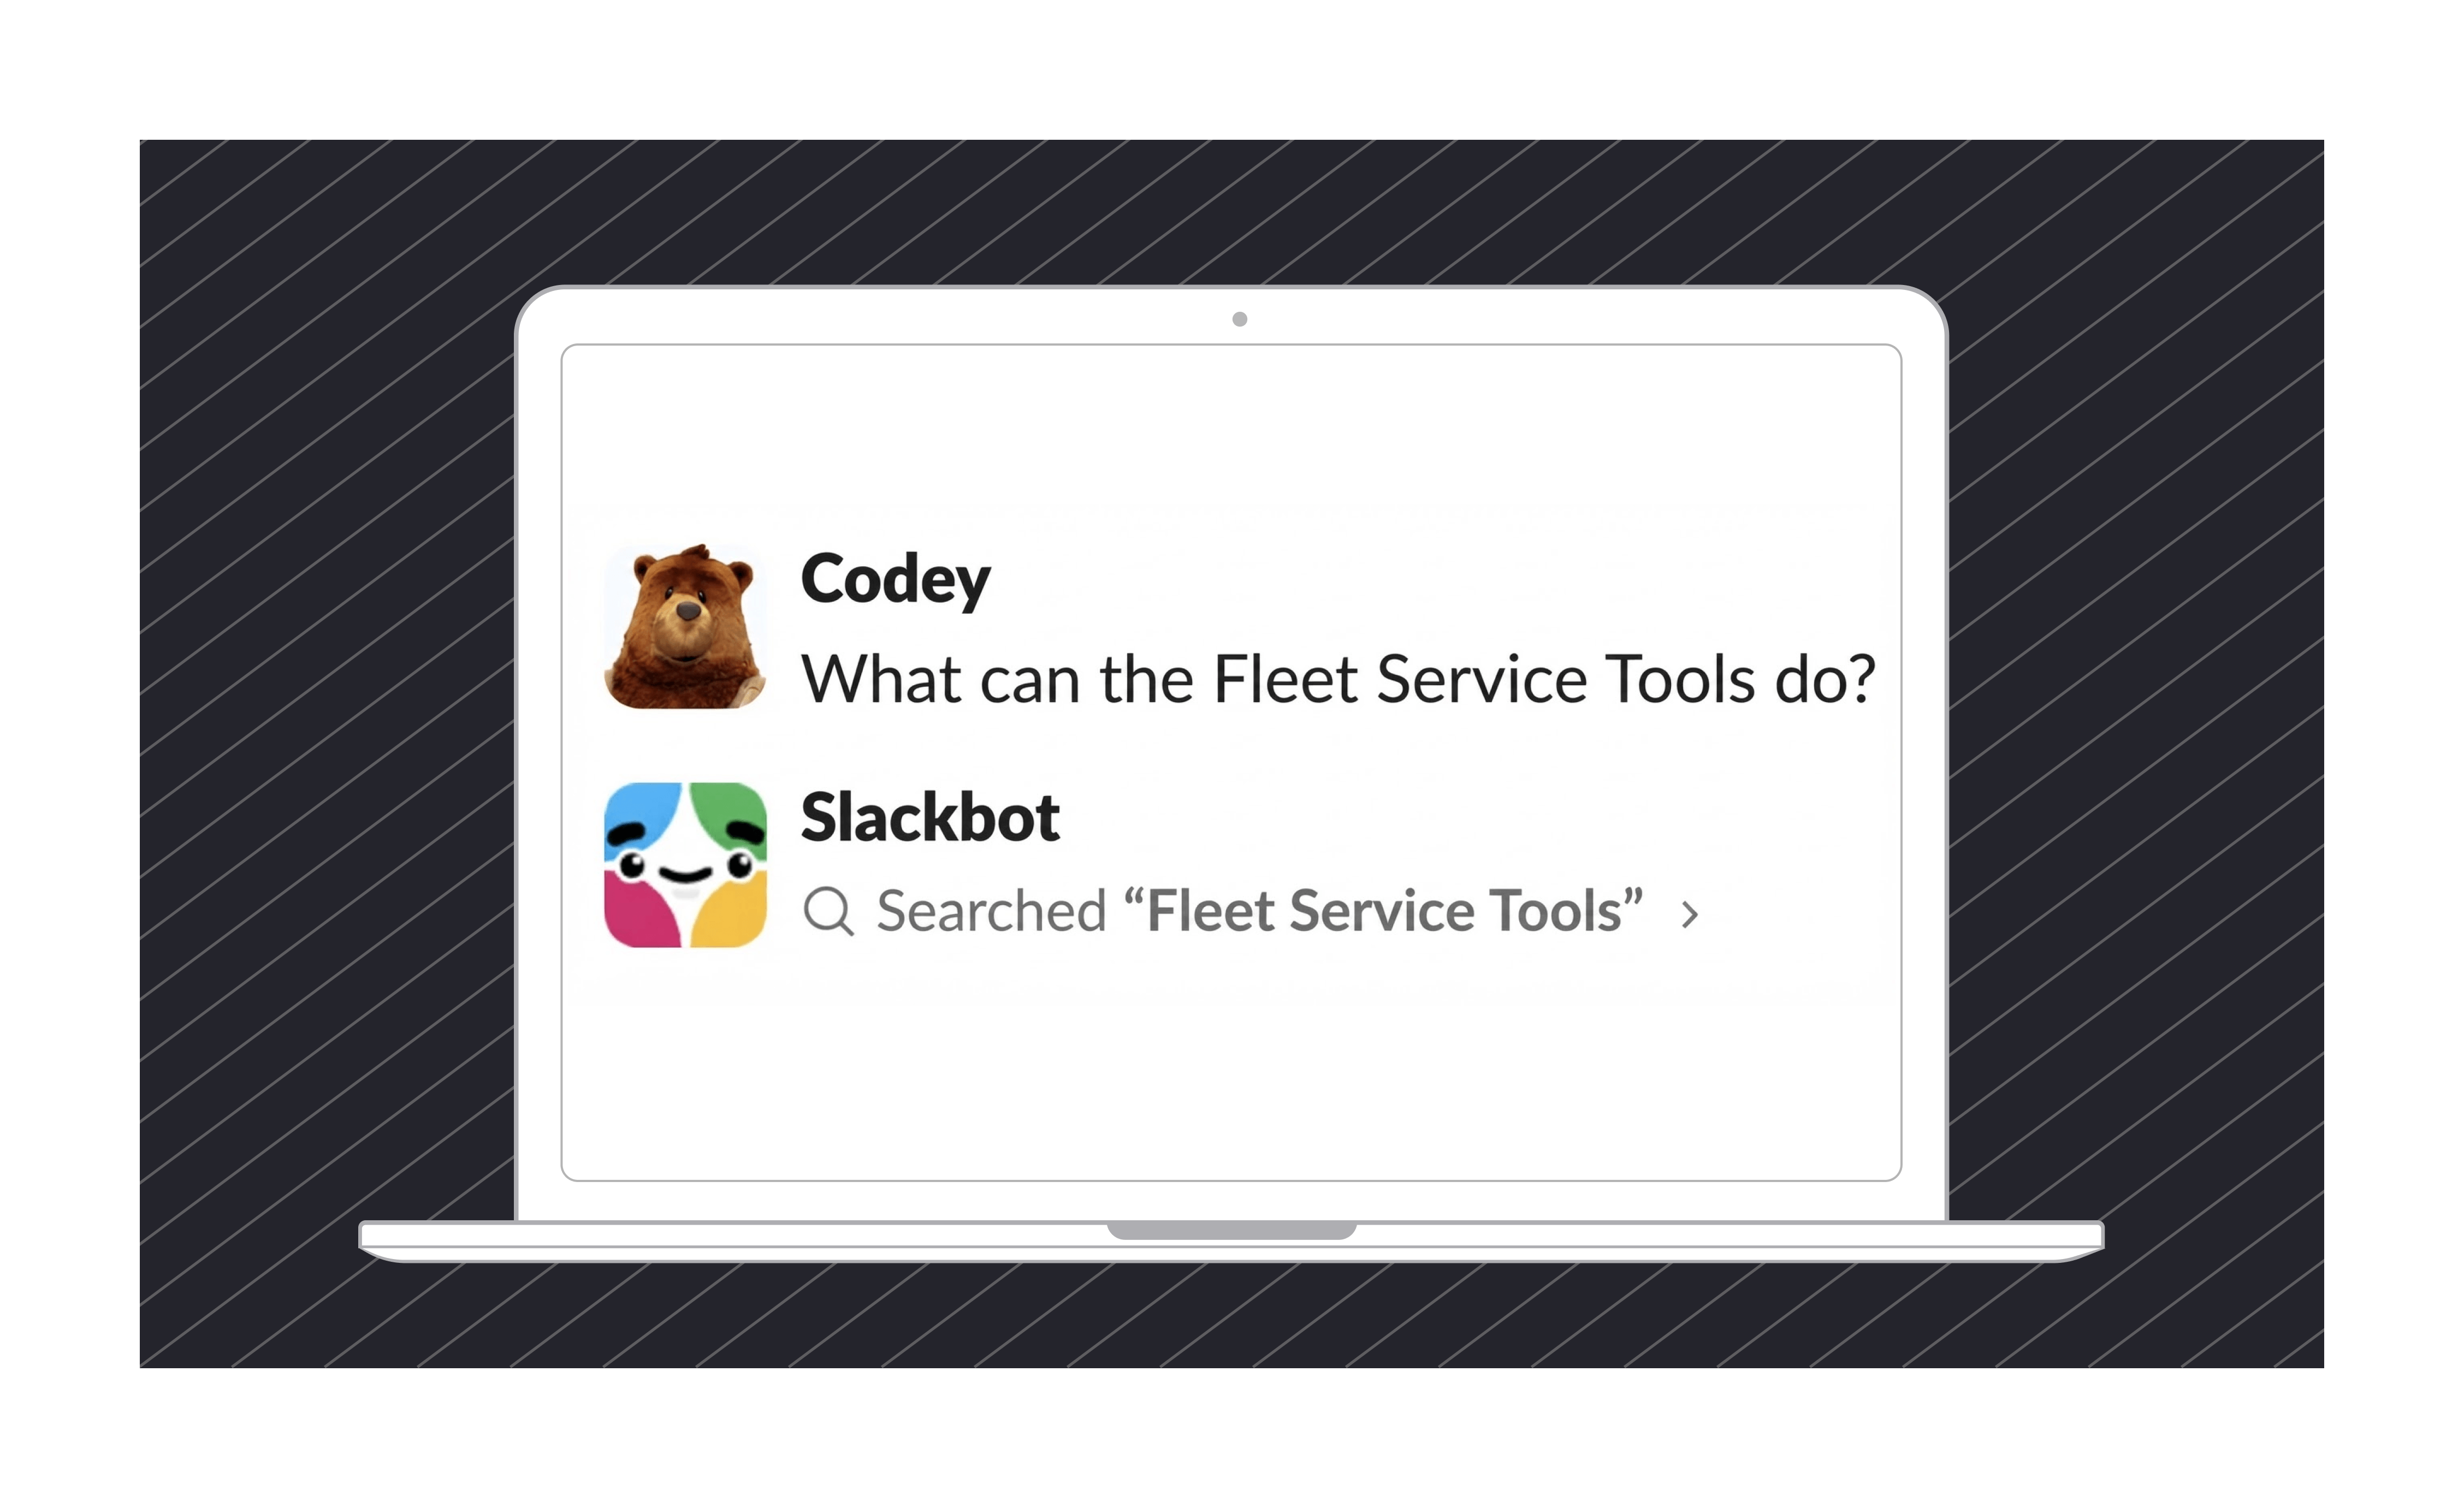
What can the Fleet Service Tools do?
Slackbot should describe the Flow-based tool you just registered.
- Act on it
Calculate the service risk score for the vehicles I have in my fleet and tell me which vehicle needs attention first.